Keycloak Integration Guide
Keycloak provides a secure solution for Identity and Access Management (IAM). This guide will walk you through the steps to integrate Keycloak with Refact.ai Enterprise.
Setting Up Keycloak
Accessing the Keycloak Console
- Begin by navigating to the Keycloak console in your browser.
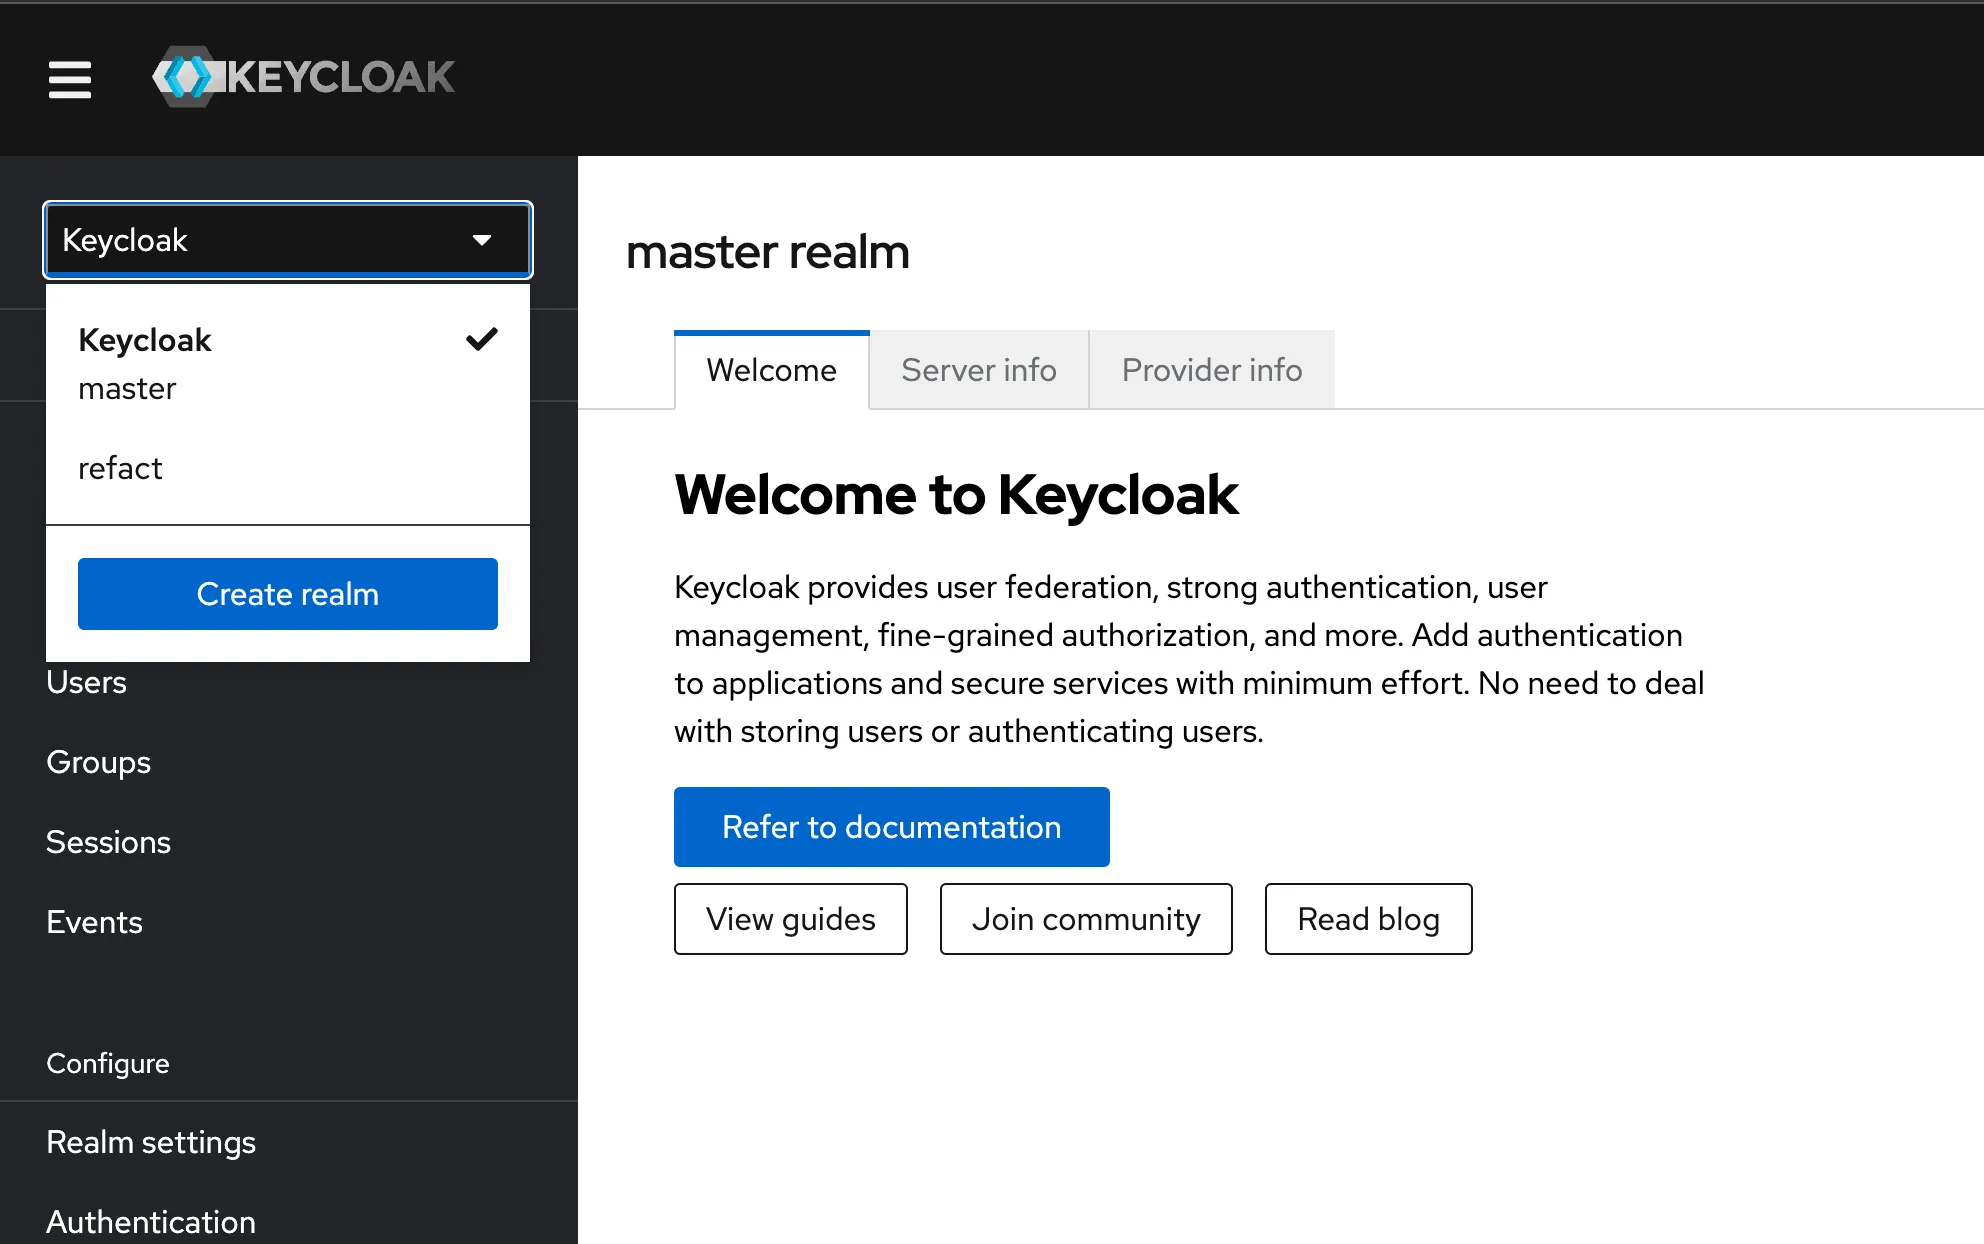
Choosing a Realm
- Realm Selection:
- For a New Realm: Click
Create Realm. Provide a name for your new realm and proceed. - For an Existing Realm: Select an existing realm from the dropdown menu if applicable.
- For a New Realm: Click
Creating and Configuring the Client
-
Navigate to the
Clientstab.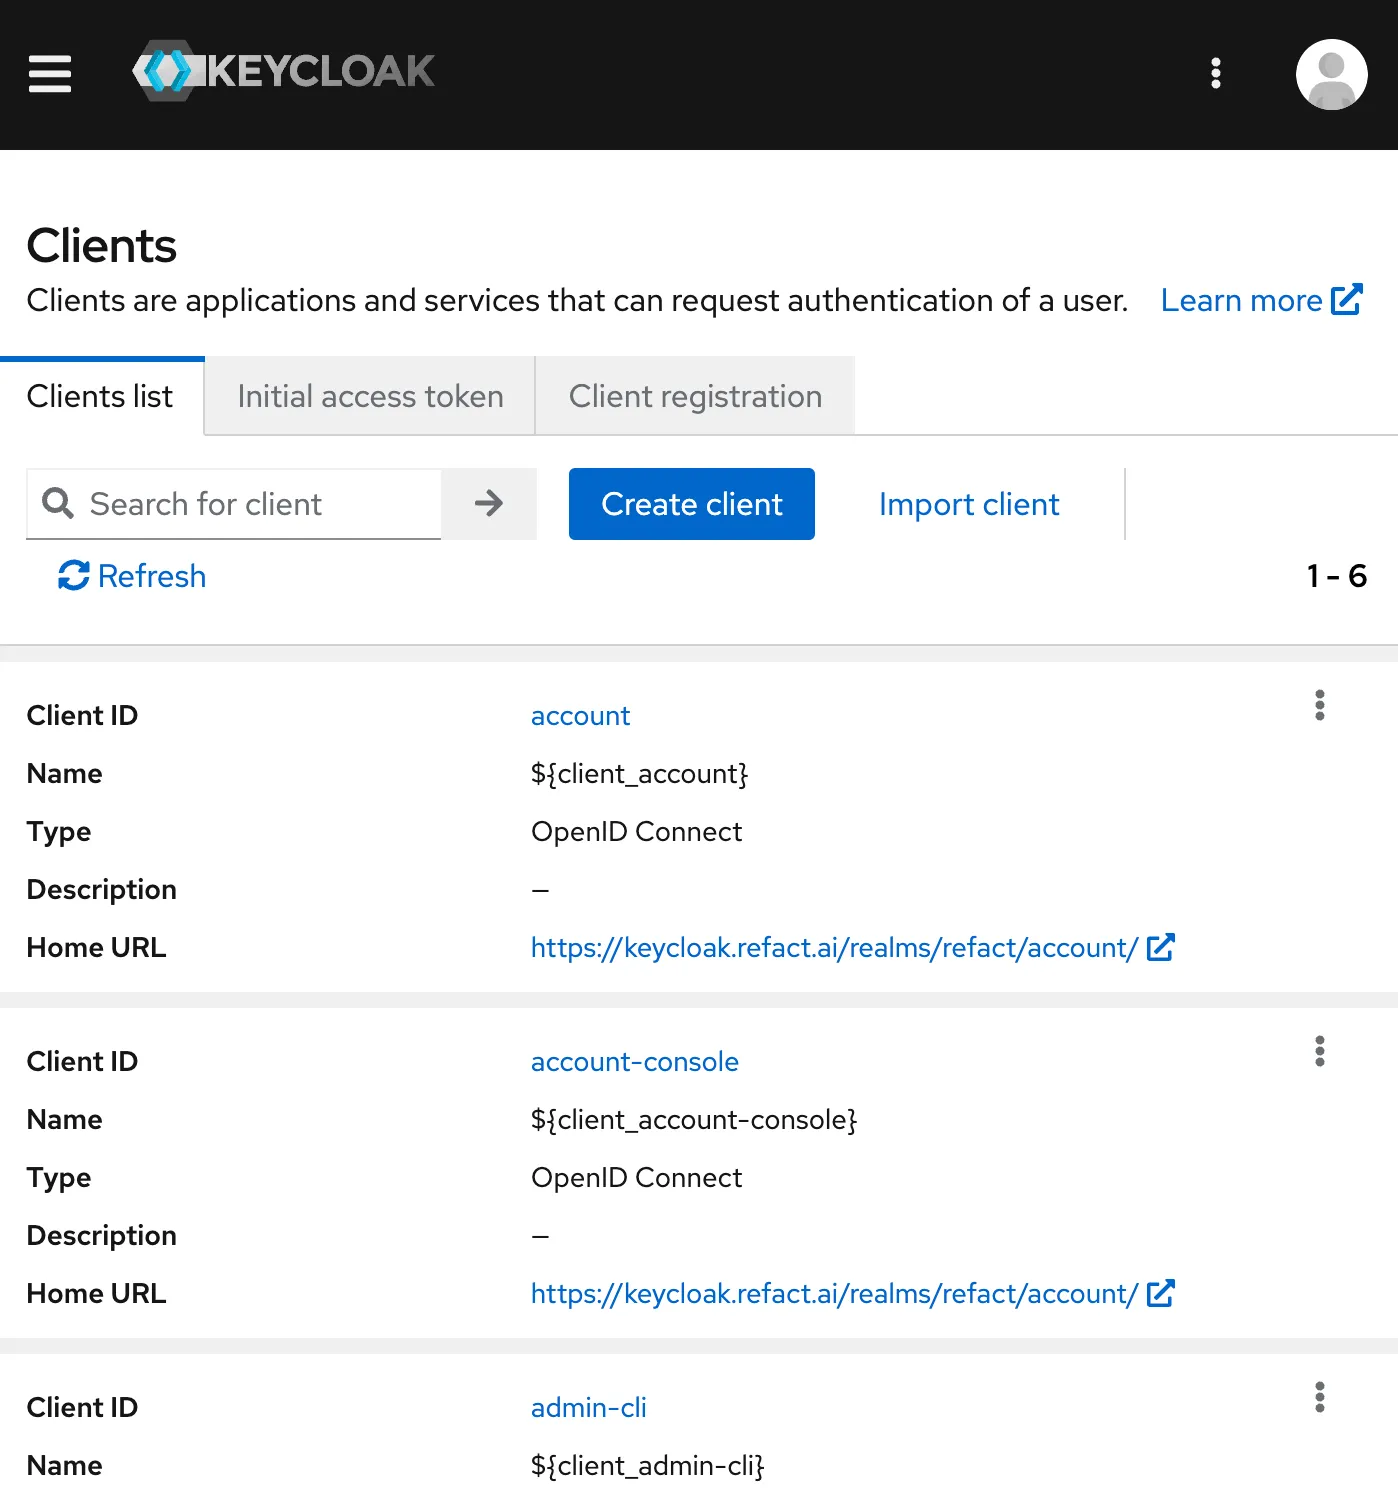
-
Click
Create clientand enter the following details:- Client ID: (e.g.,
refact_client) - Name: (e.g.,
Refact Client)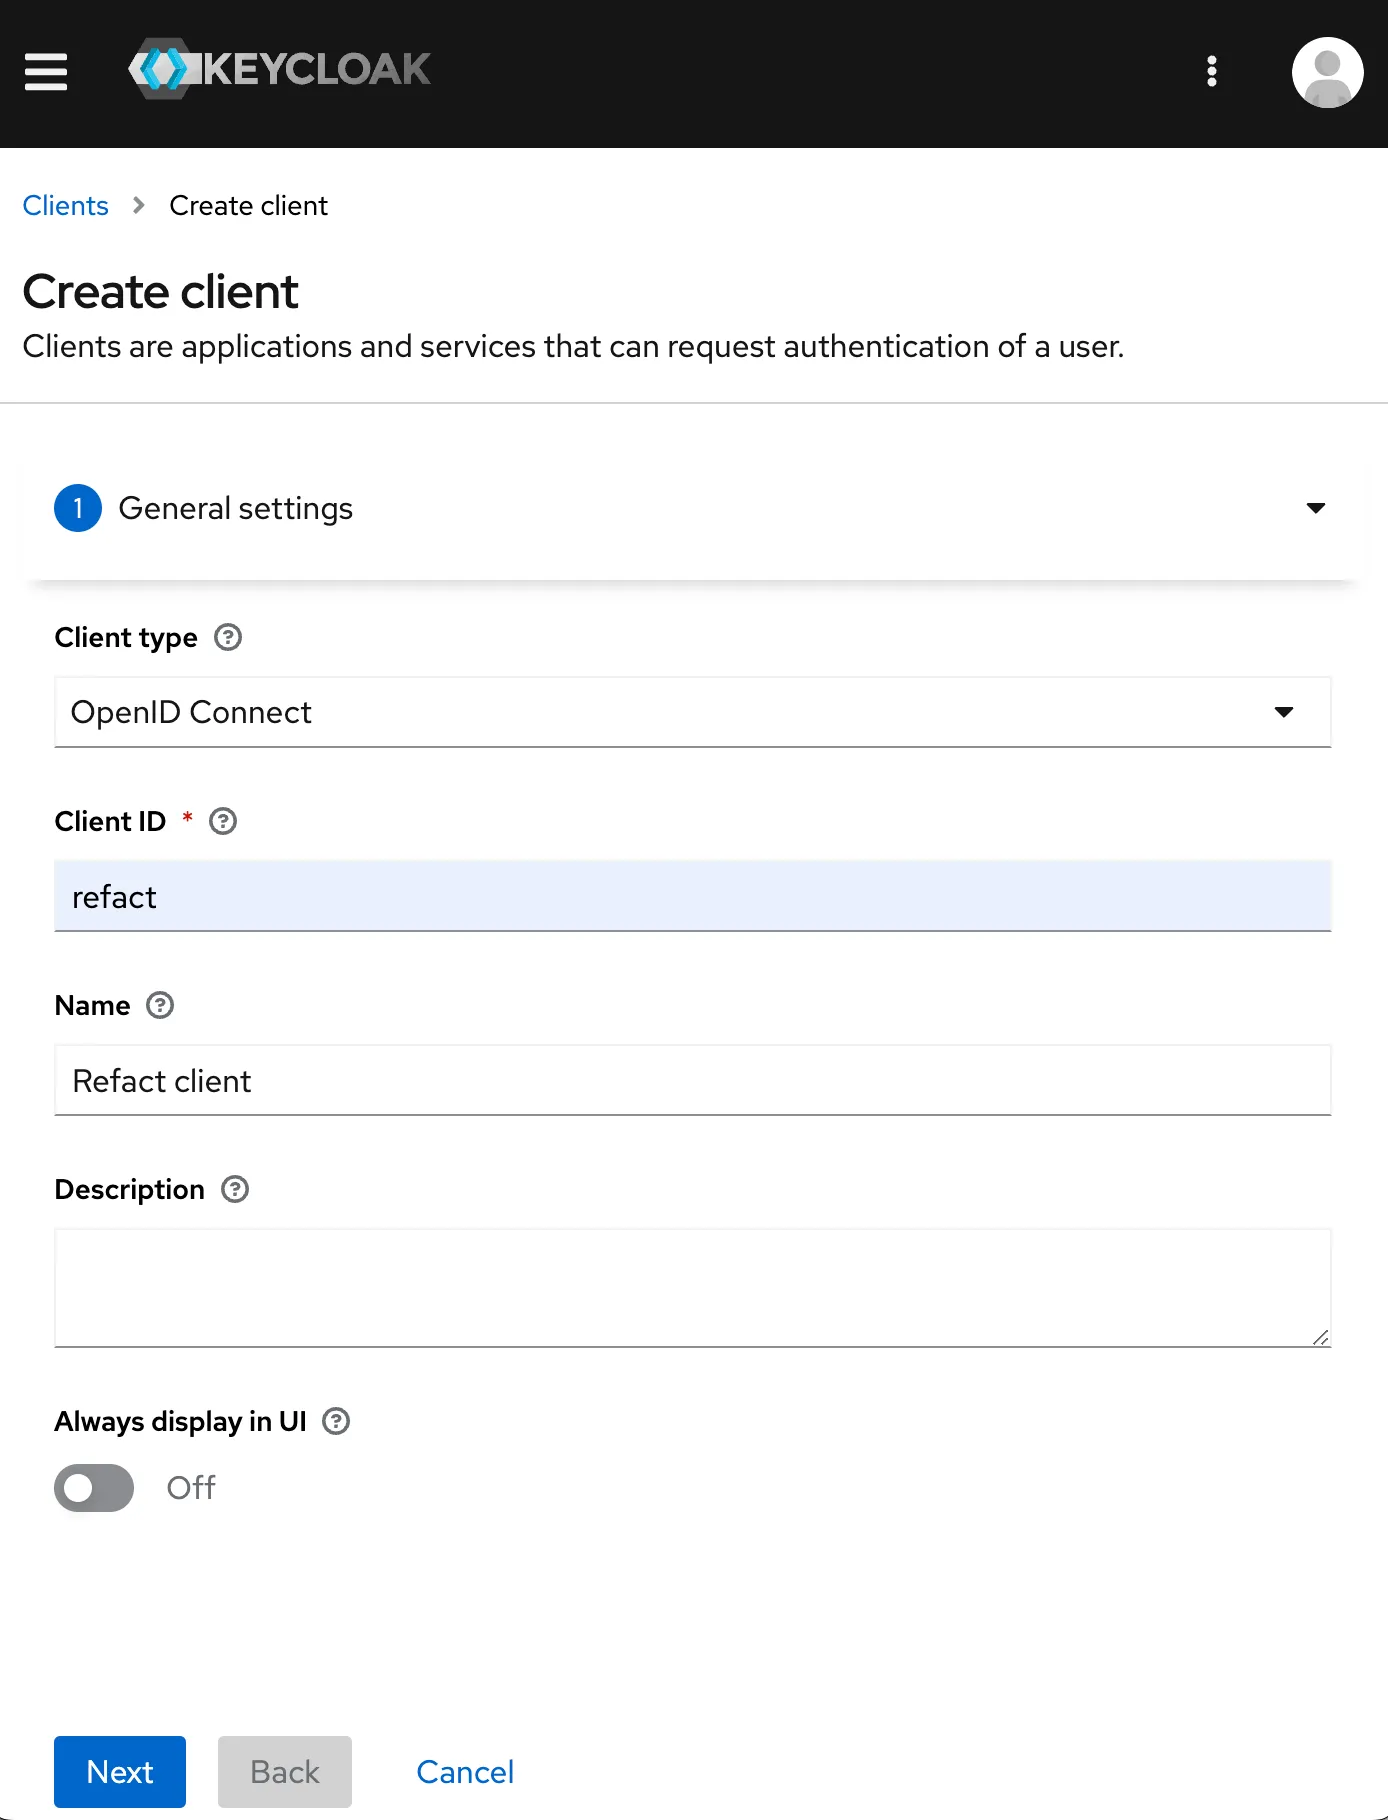
- Client ID: (e.g.,
-
Adjust the Capability config to:
- Enable
Client Authentication - Set
Authorizationto OFF - For
Authentication Flow, select onlyDirect Access Grants,Service Accounts Roles, andStandard flowand deselect other options.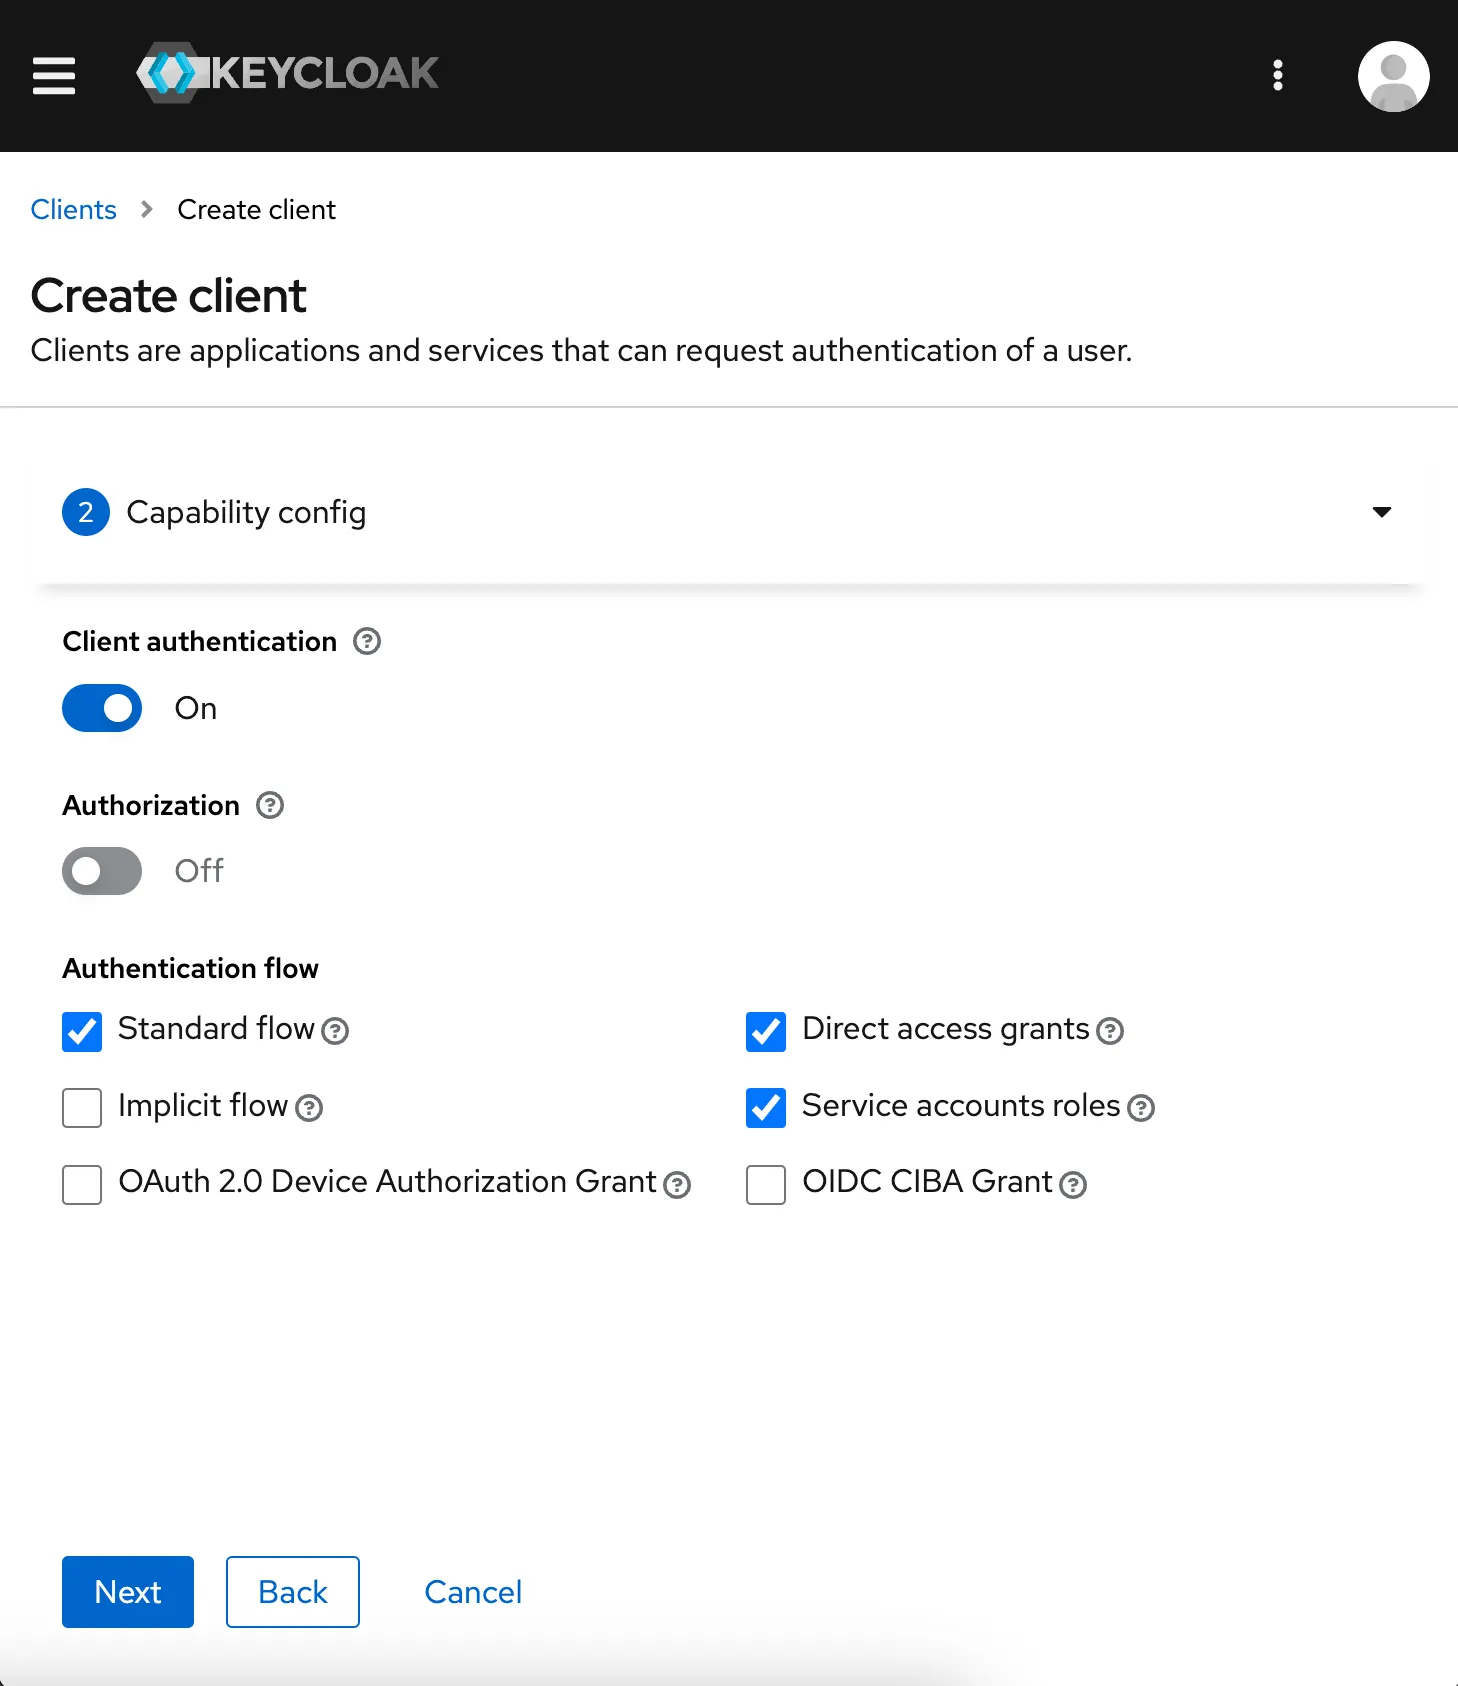
- Enable
-
Configure the Access Settings as follows:
- Valid Redirect URIs: The URL of your Refact.ai Enterprise inference. For example,
https://enterprise.inference-server.local/*(replaceenterprise.inference-server.localwith your Refact.ai Enterprise URL and make sure to include the trailing slash and an asterisk at the end) - Web Origins: The URL of your Refact.ai Enterprise inference. For example,
https://enterprise.inference-server.local/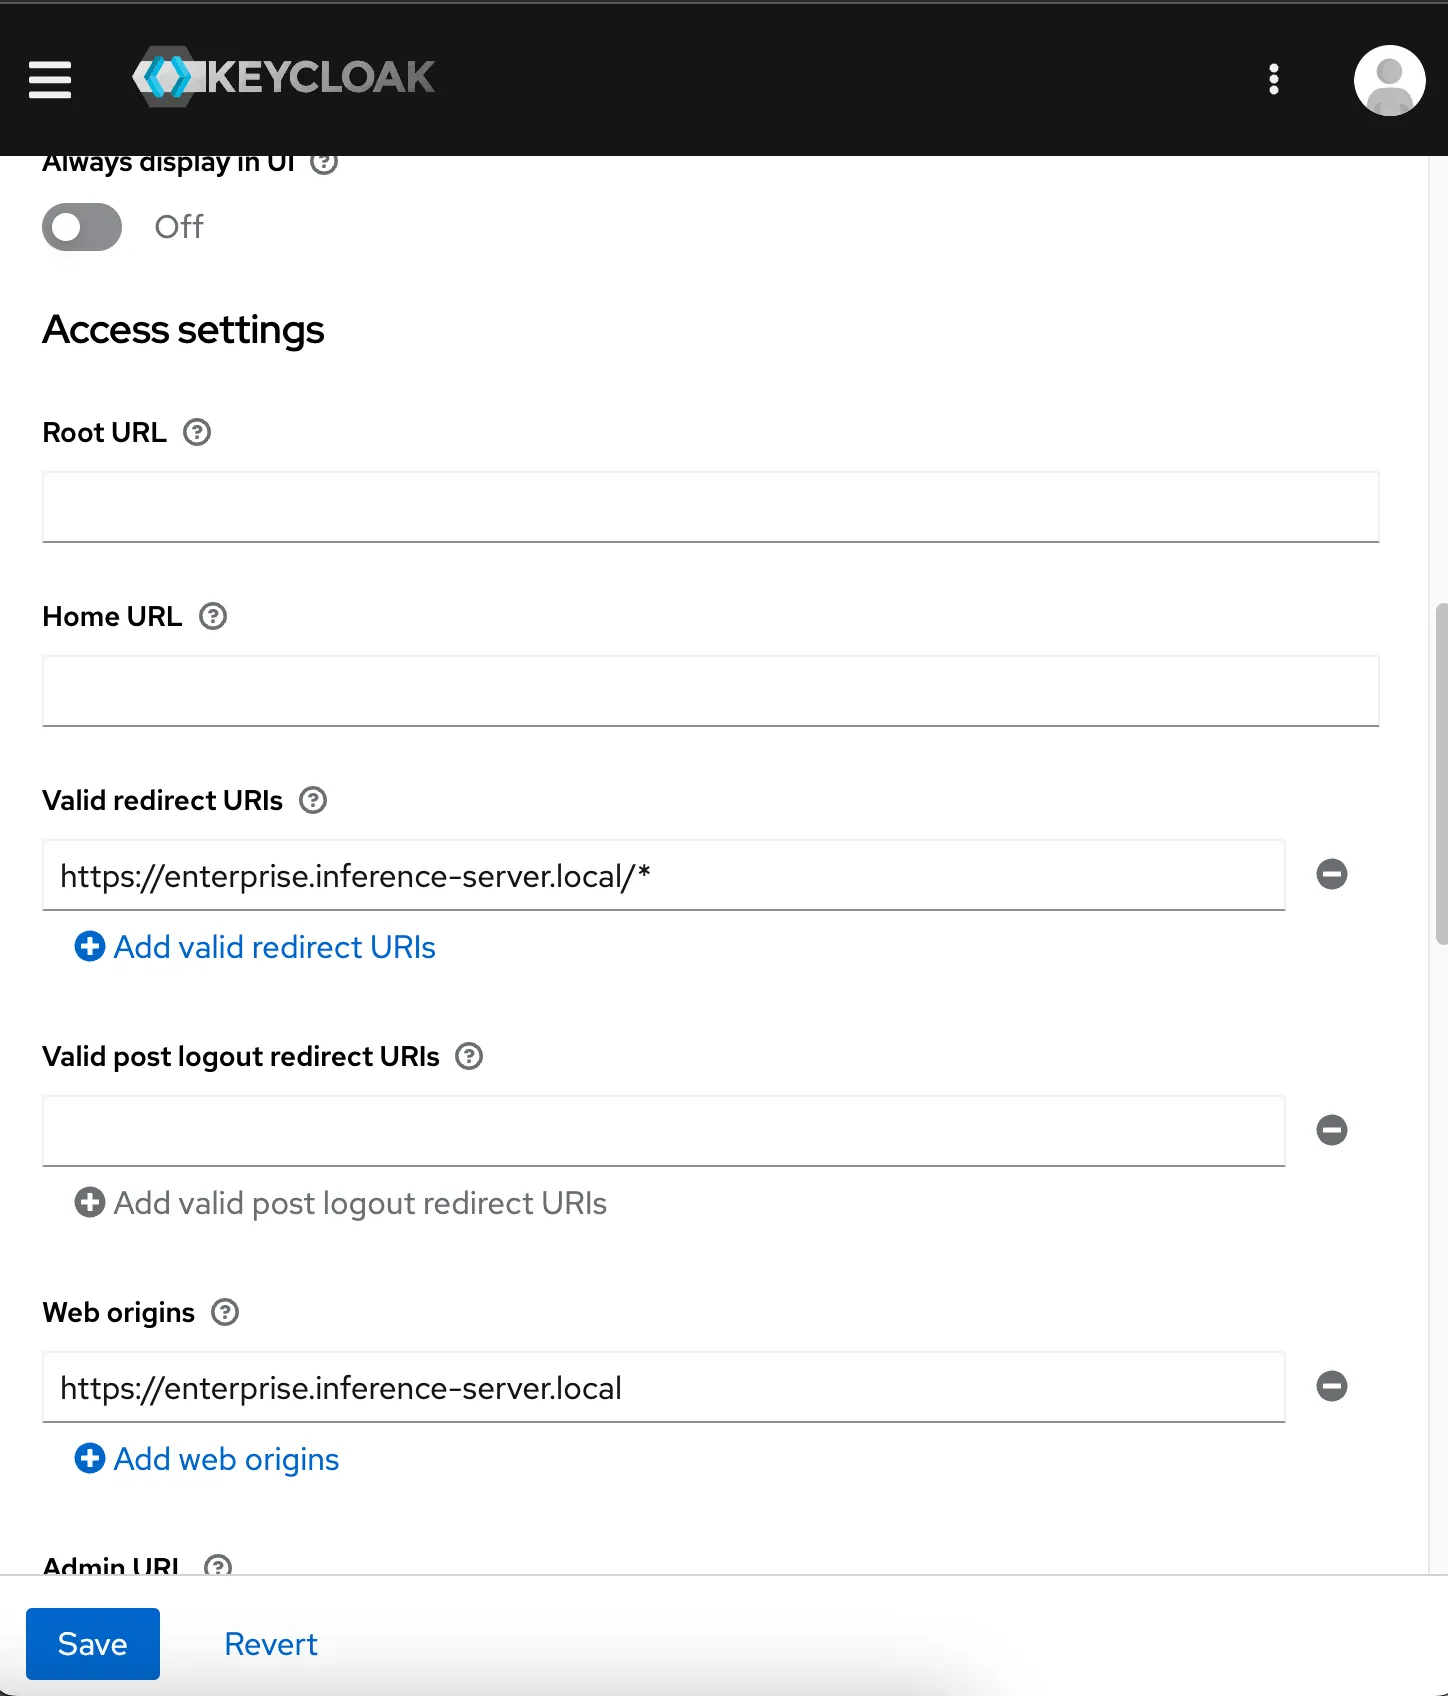
- Valid Redirect URIs: The URL of your Refact.ai Enterprise inference. For example,
-
Leave both
Root URLandHome URLfields empty in theLogin Settingstab.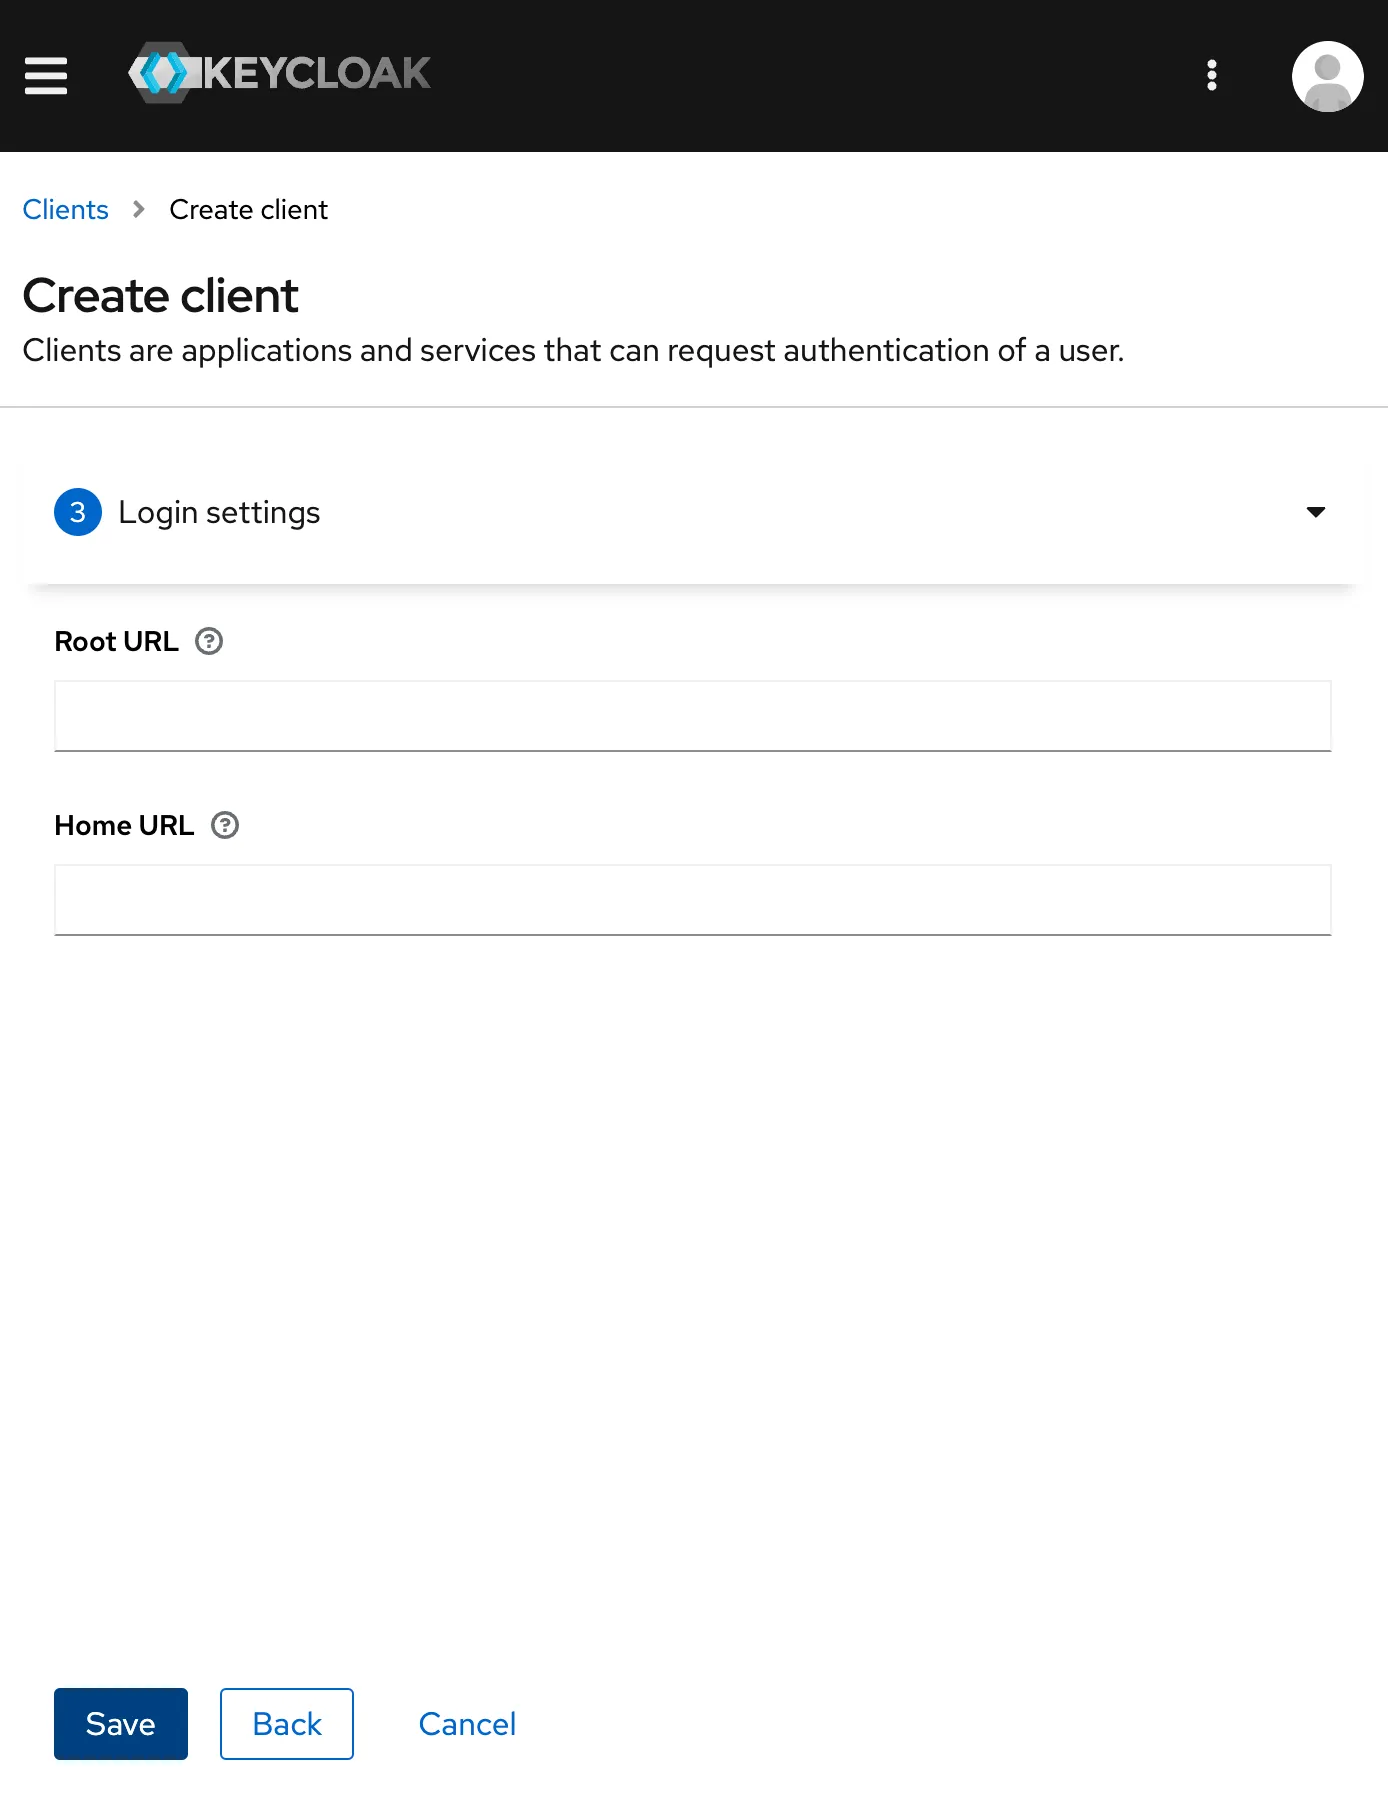
Adding a Service Role to the Client
-
In your newly created client, add a service role.

-
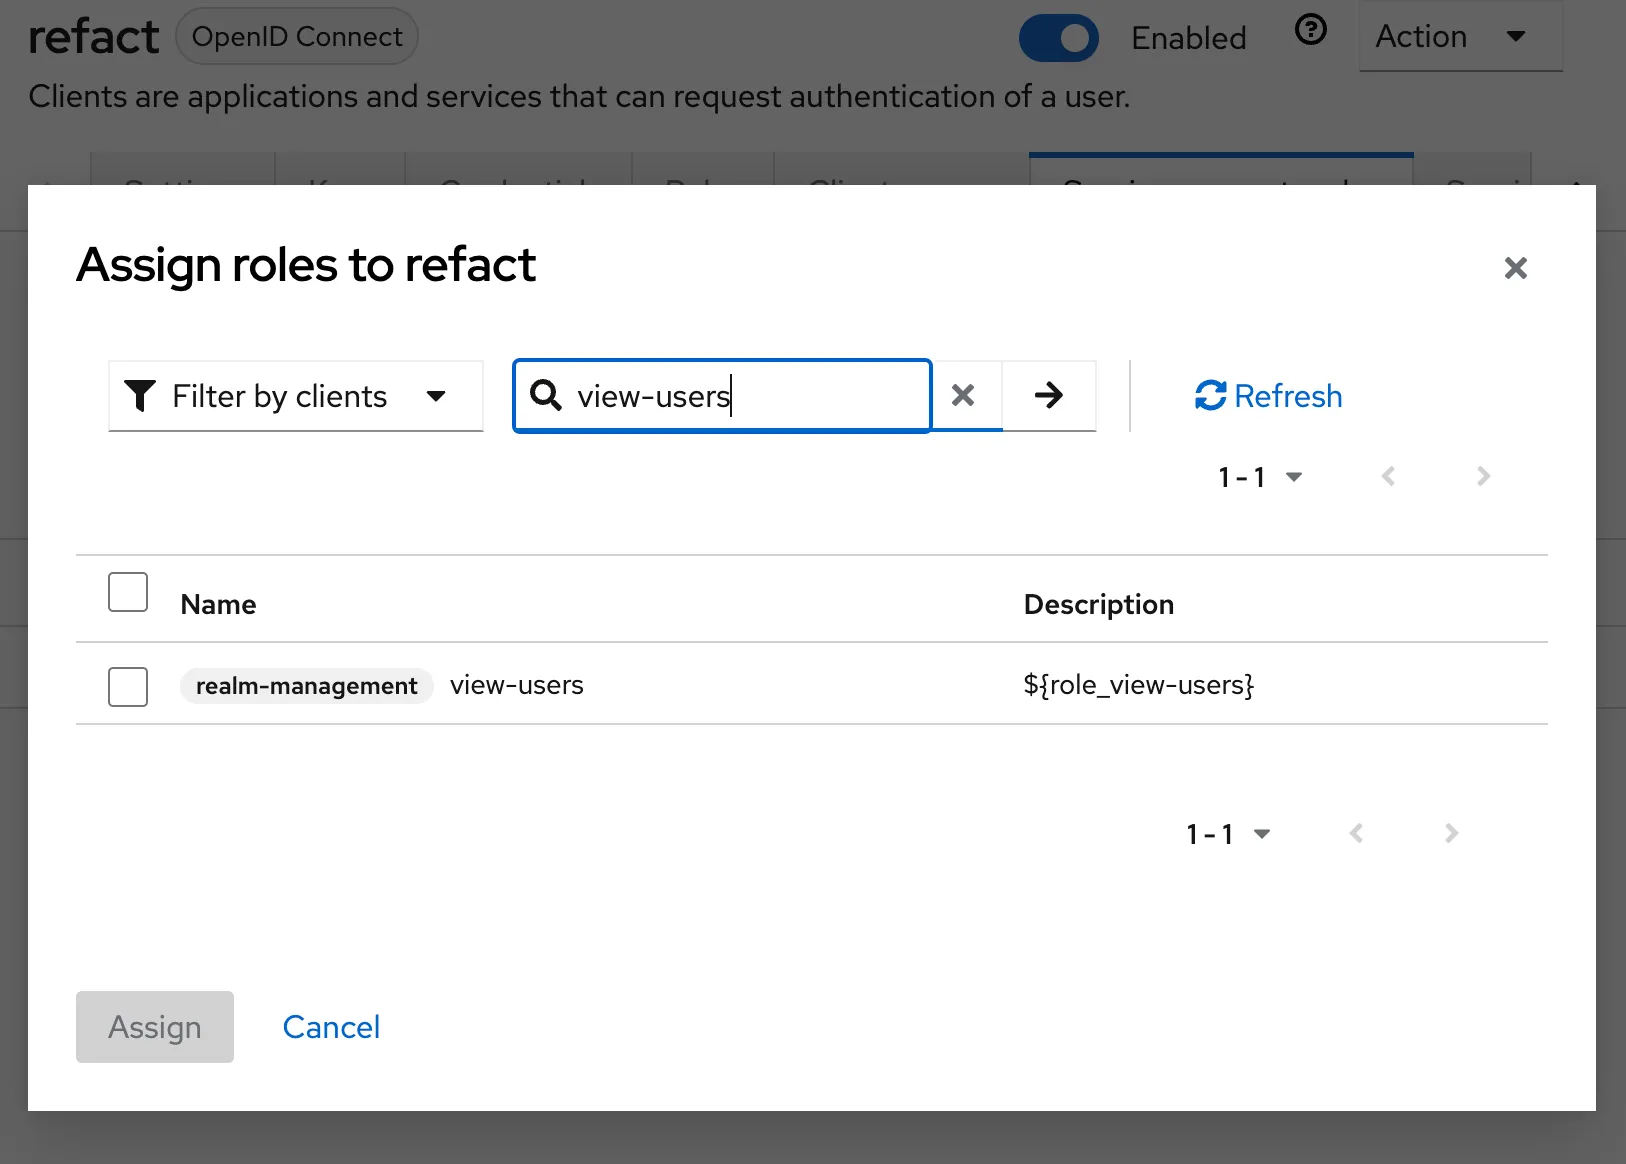
Click
Assign roleand modifyFilter by realm rolestoFilter to clients. Then, in the search field, inputview-users.
-
Go to the
Credentialstab, locate, and save theClient Secretvalue.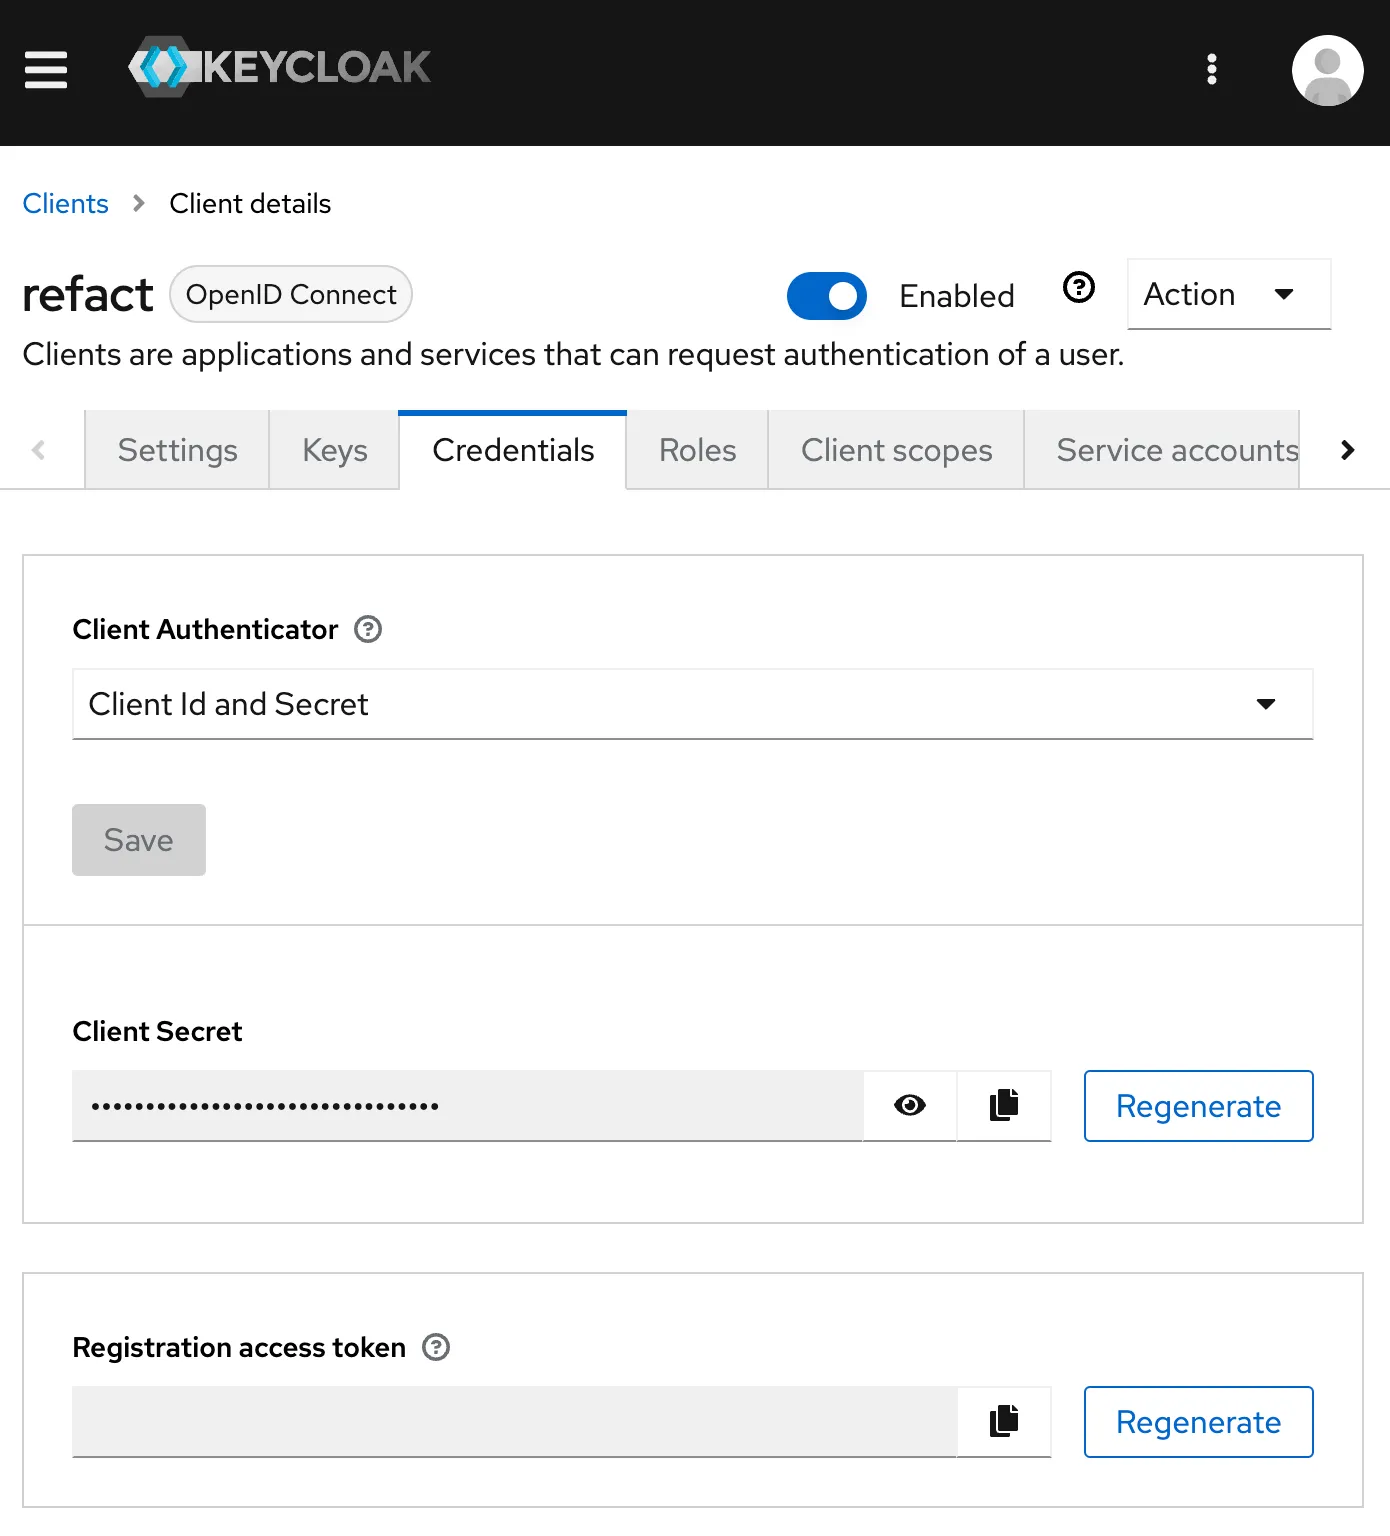
Configuration Summary
Ensure your settings are as follows for successful integration:
client_id = refact_clientclient_secret = ***** (Your generated client secret)realm = your_realm_nameurl = https://keycloak.refact.ai/Integrating Keycloak with Refact.ai Enterprise
Regular User Flow
-
Navigate to your Refact.ai Enterprise instance. Press
Continue to Keycloak.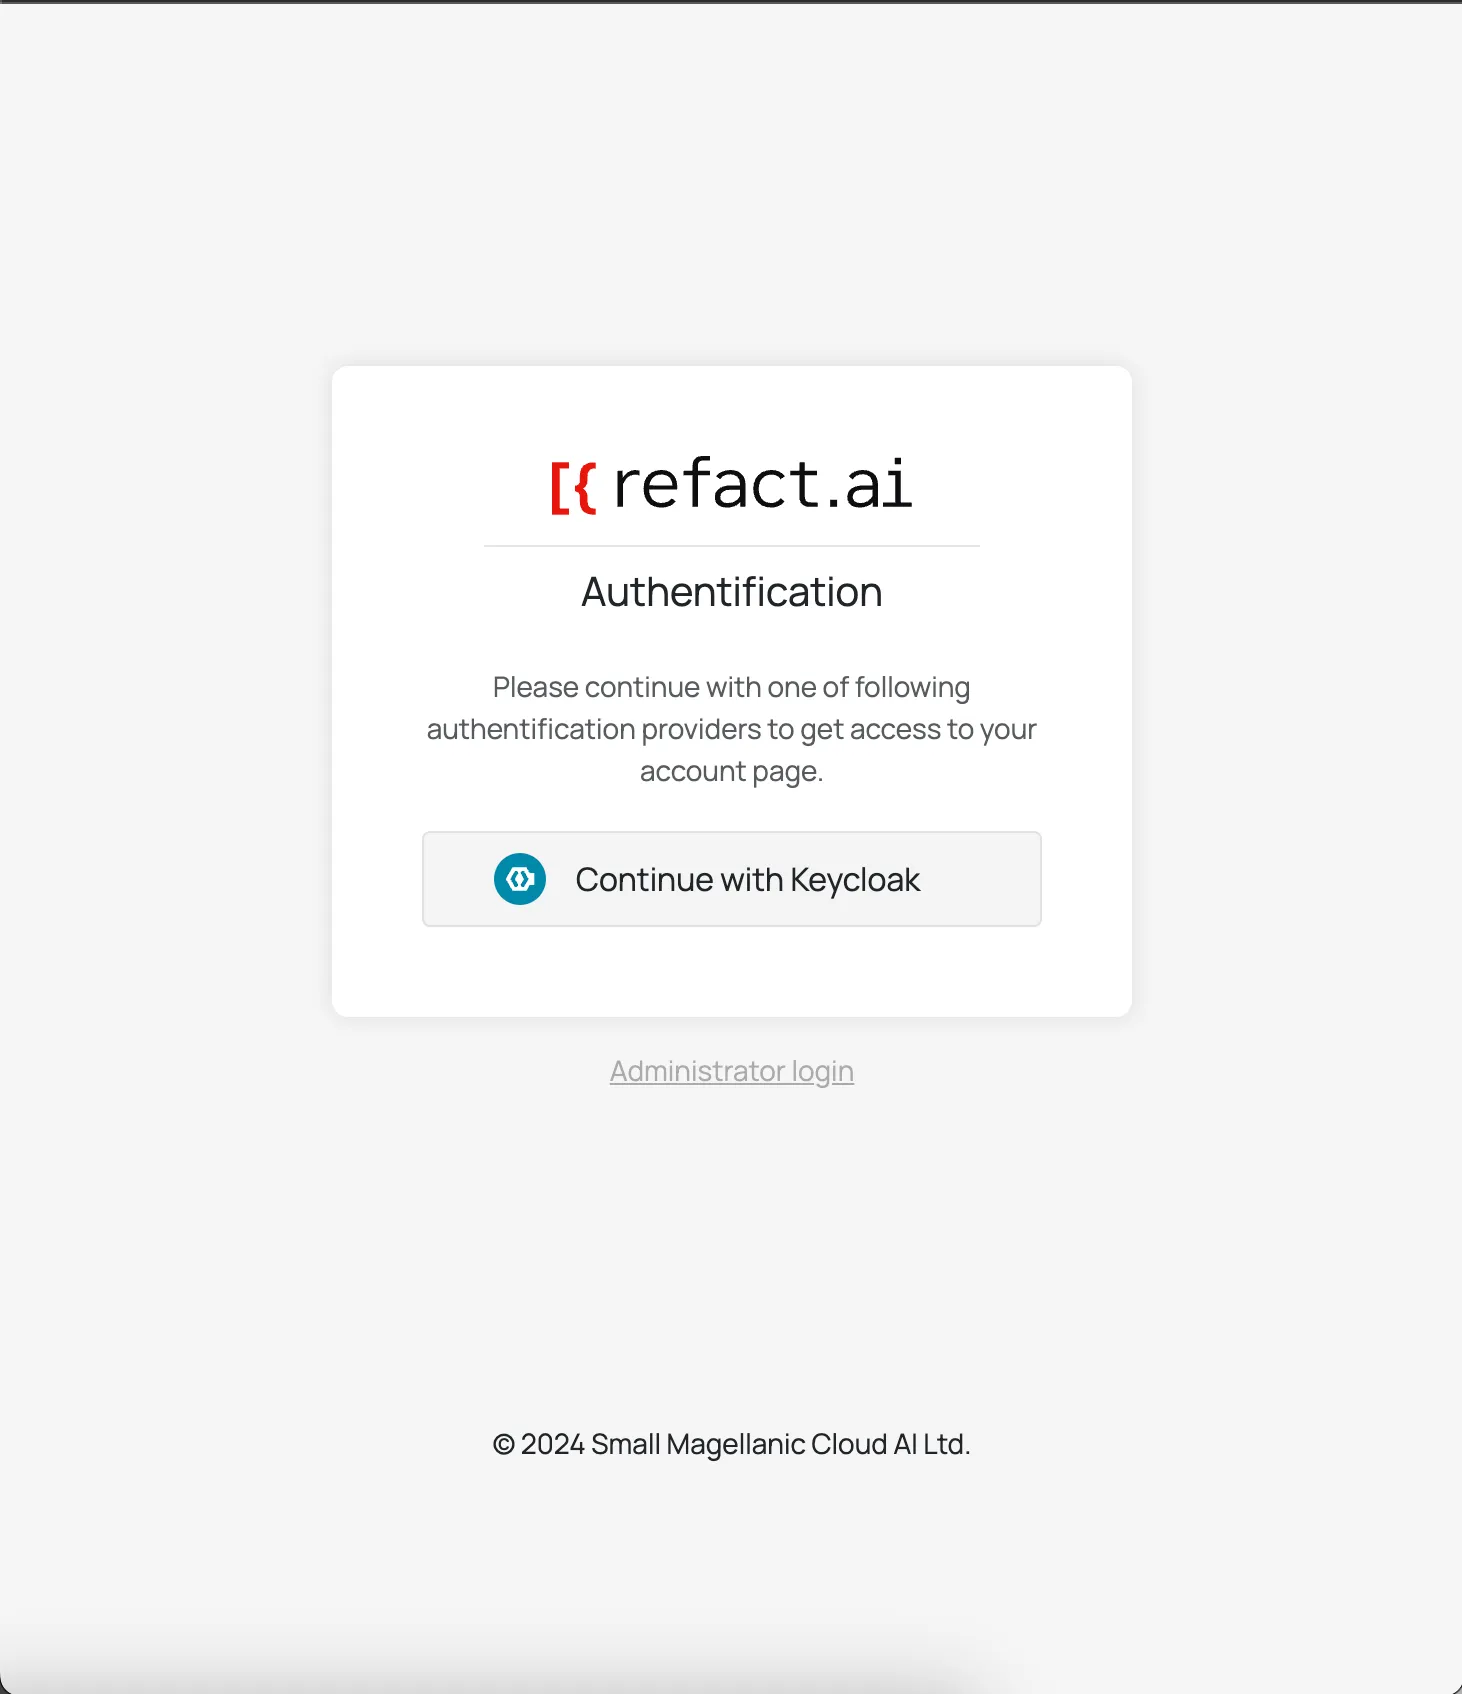 You will be redirected to the Keycloak, enter your credentials and click
 Sign in. -
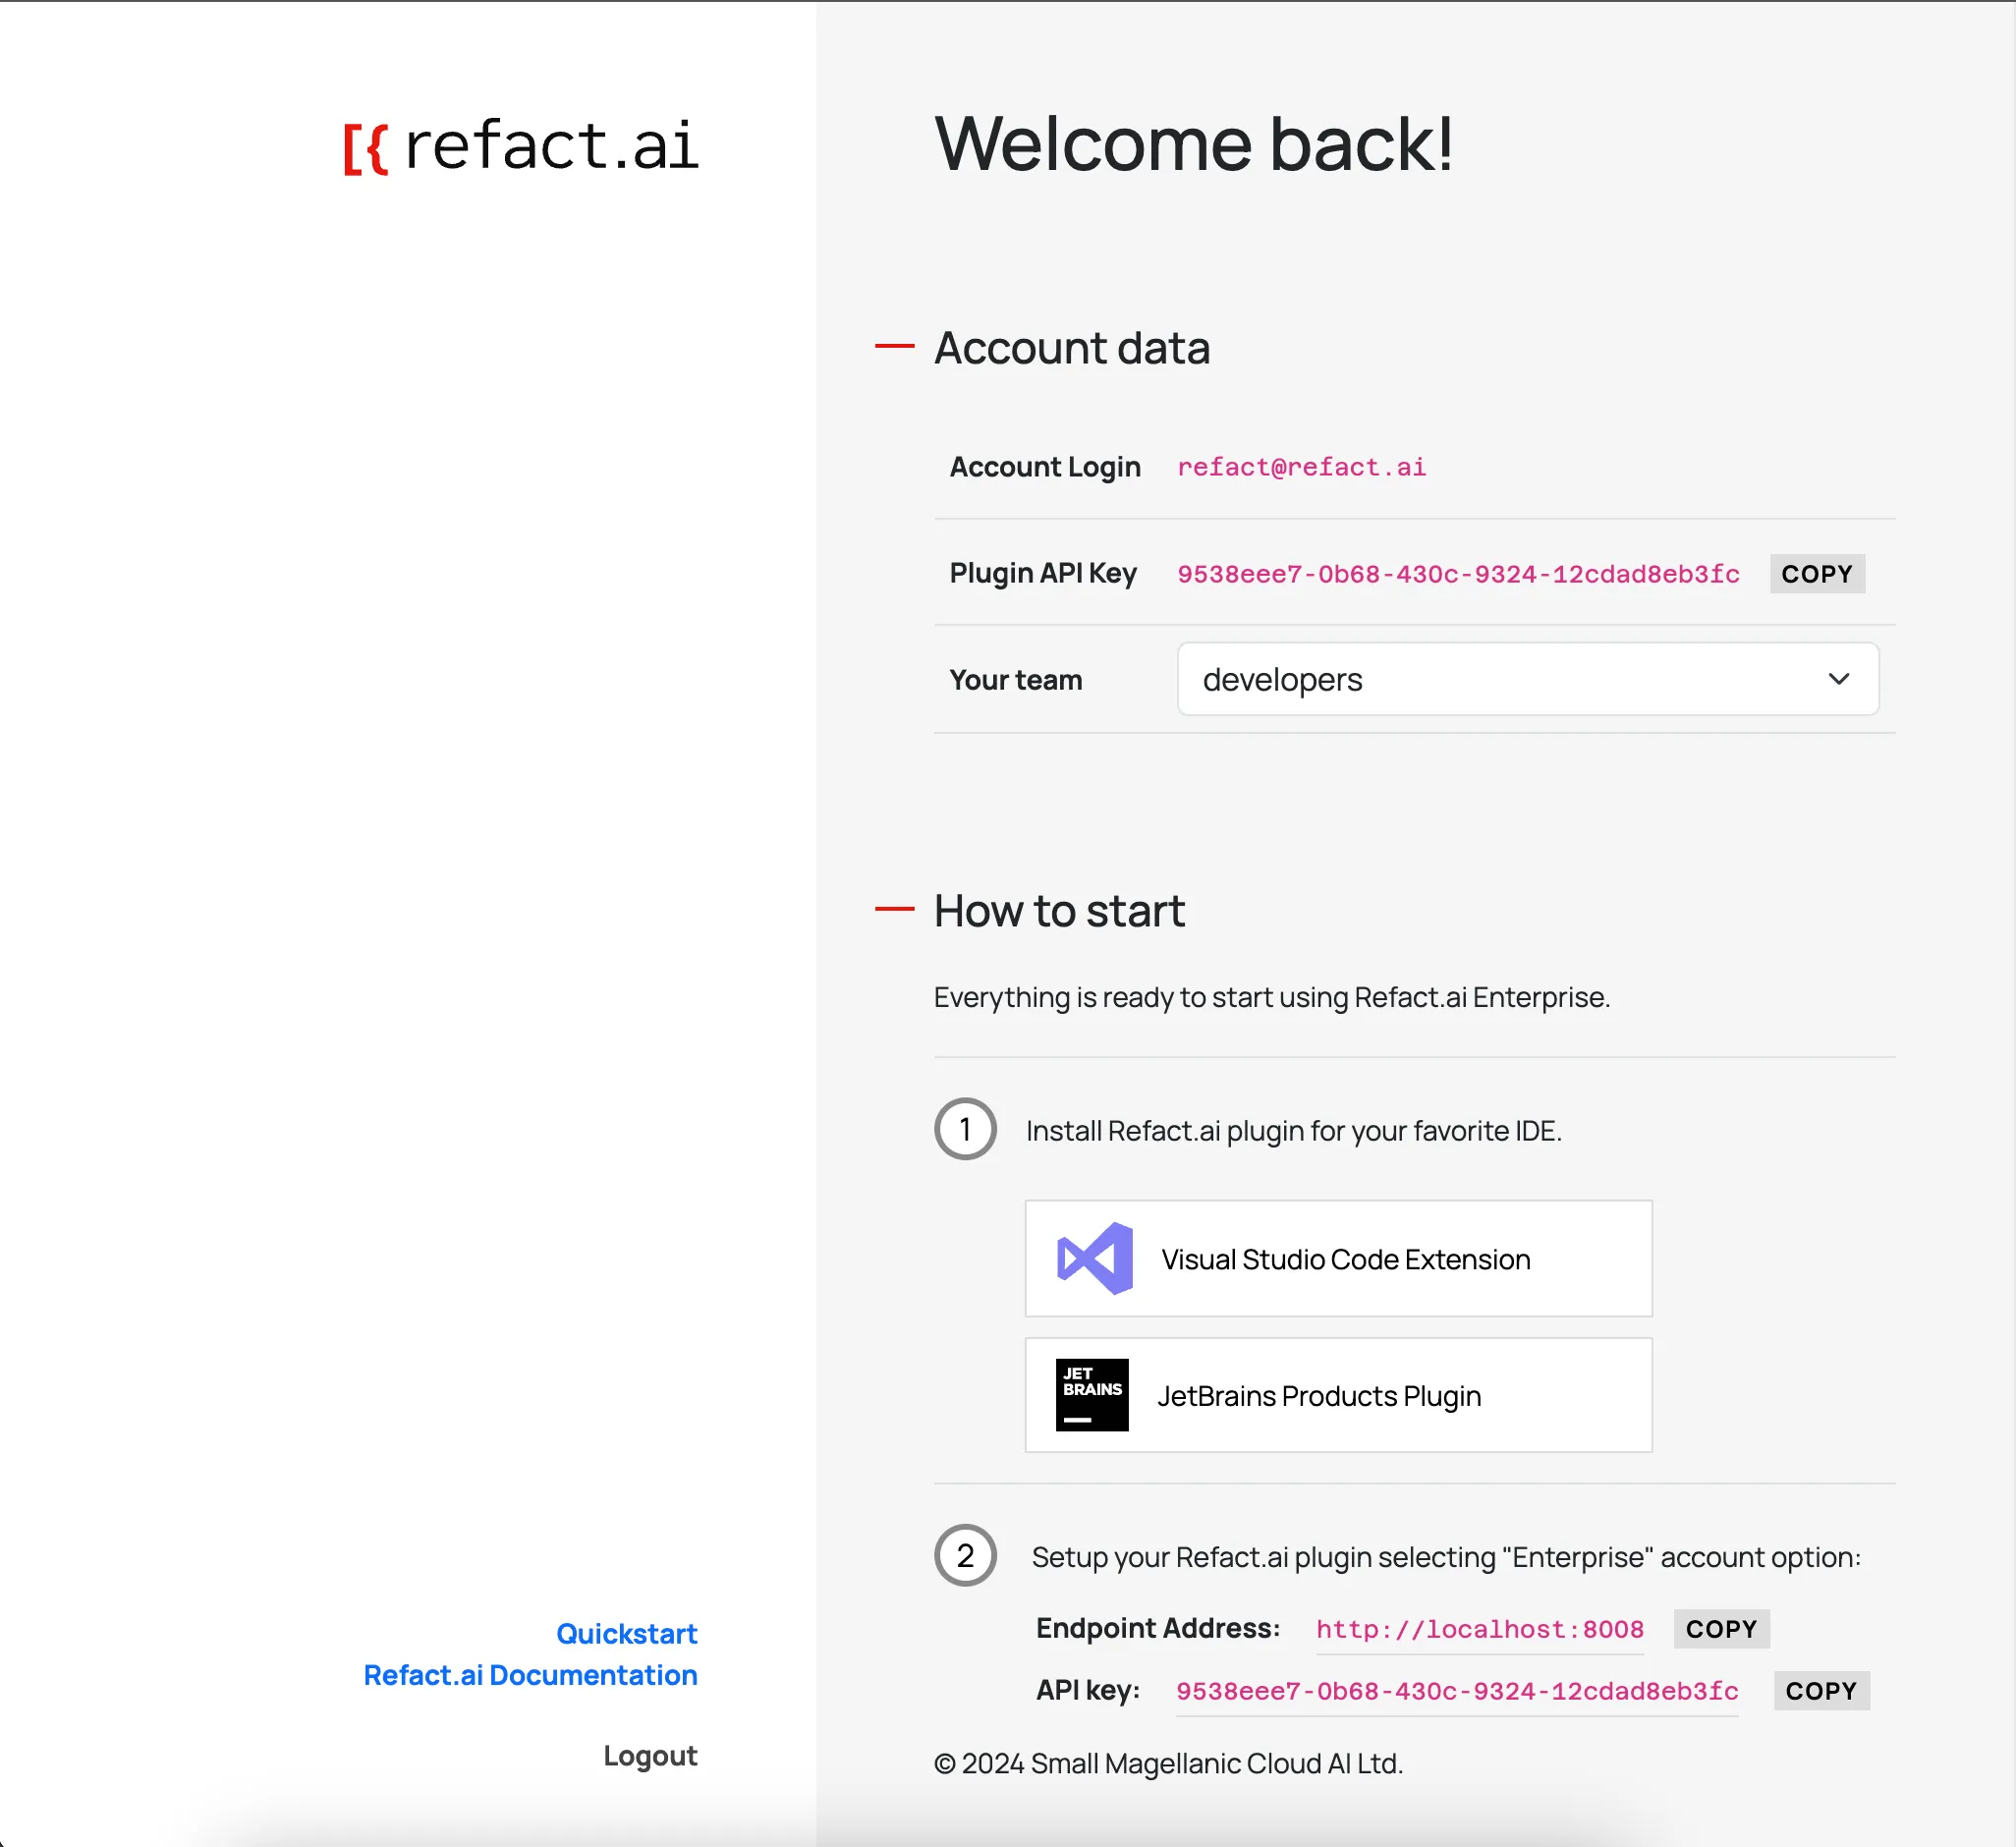
You will be redirected to your Refact.ai Enterprise instance. You will see your user profile information:
- Account Login
- Plugin API Key
- Your team
Admin User Flow
-
Navigate to your Refact.ai Enterprise instance. Press
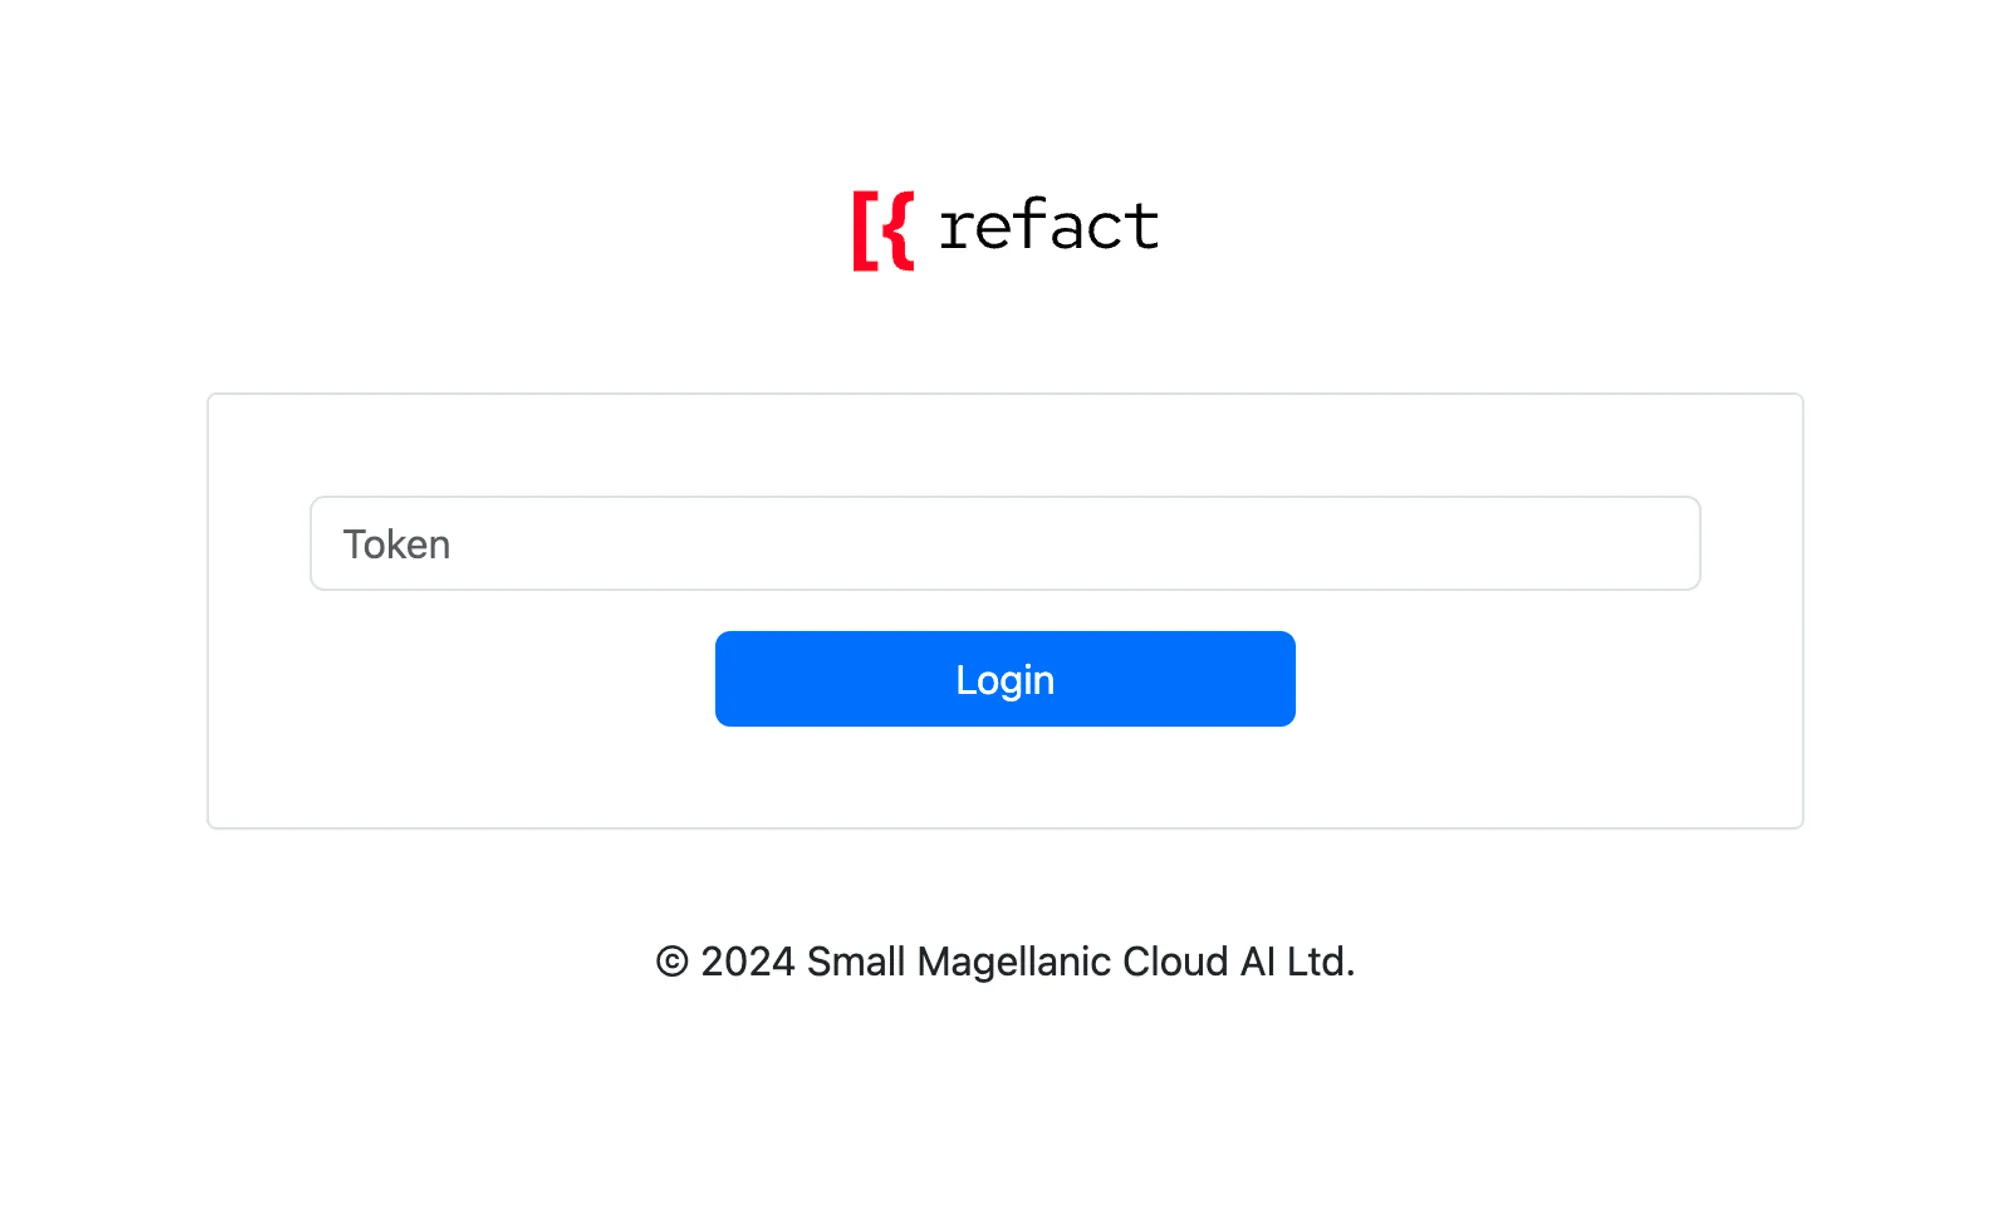
Administrator login. -
Fill in your Refact.ai admin token.
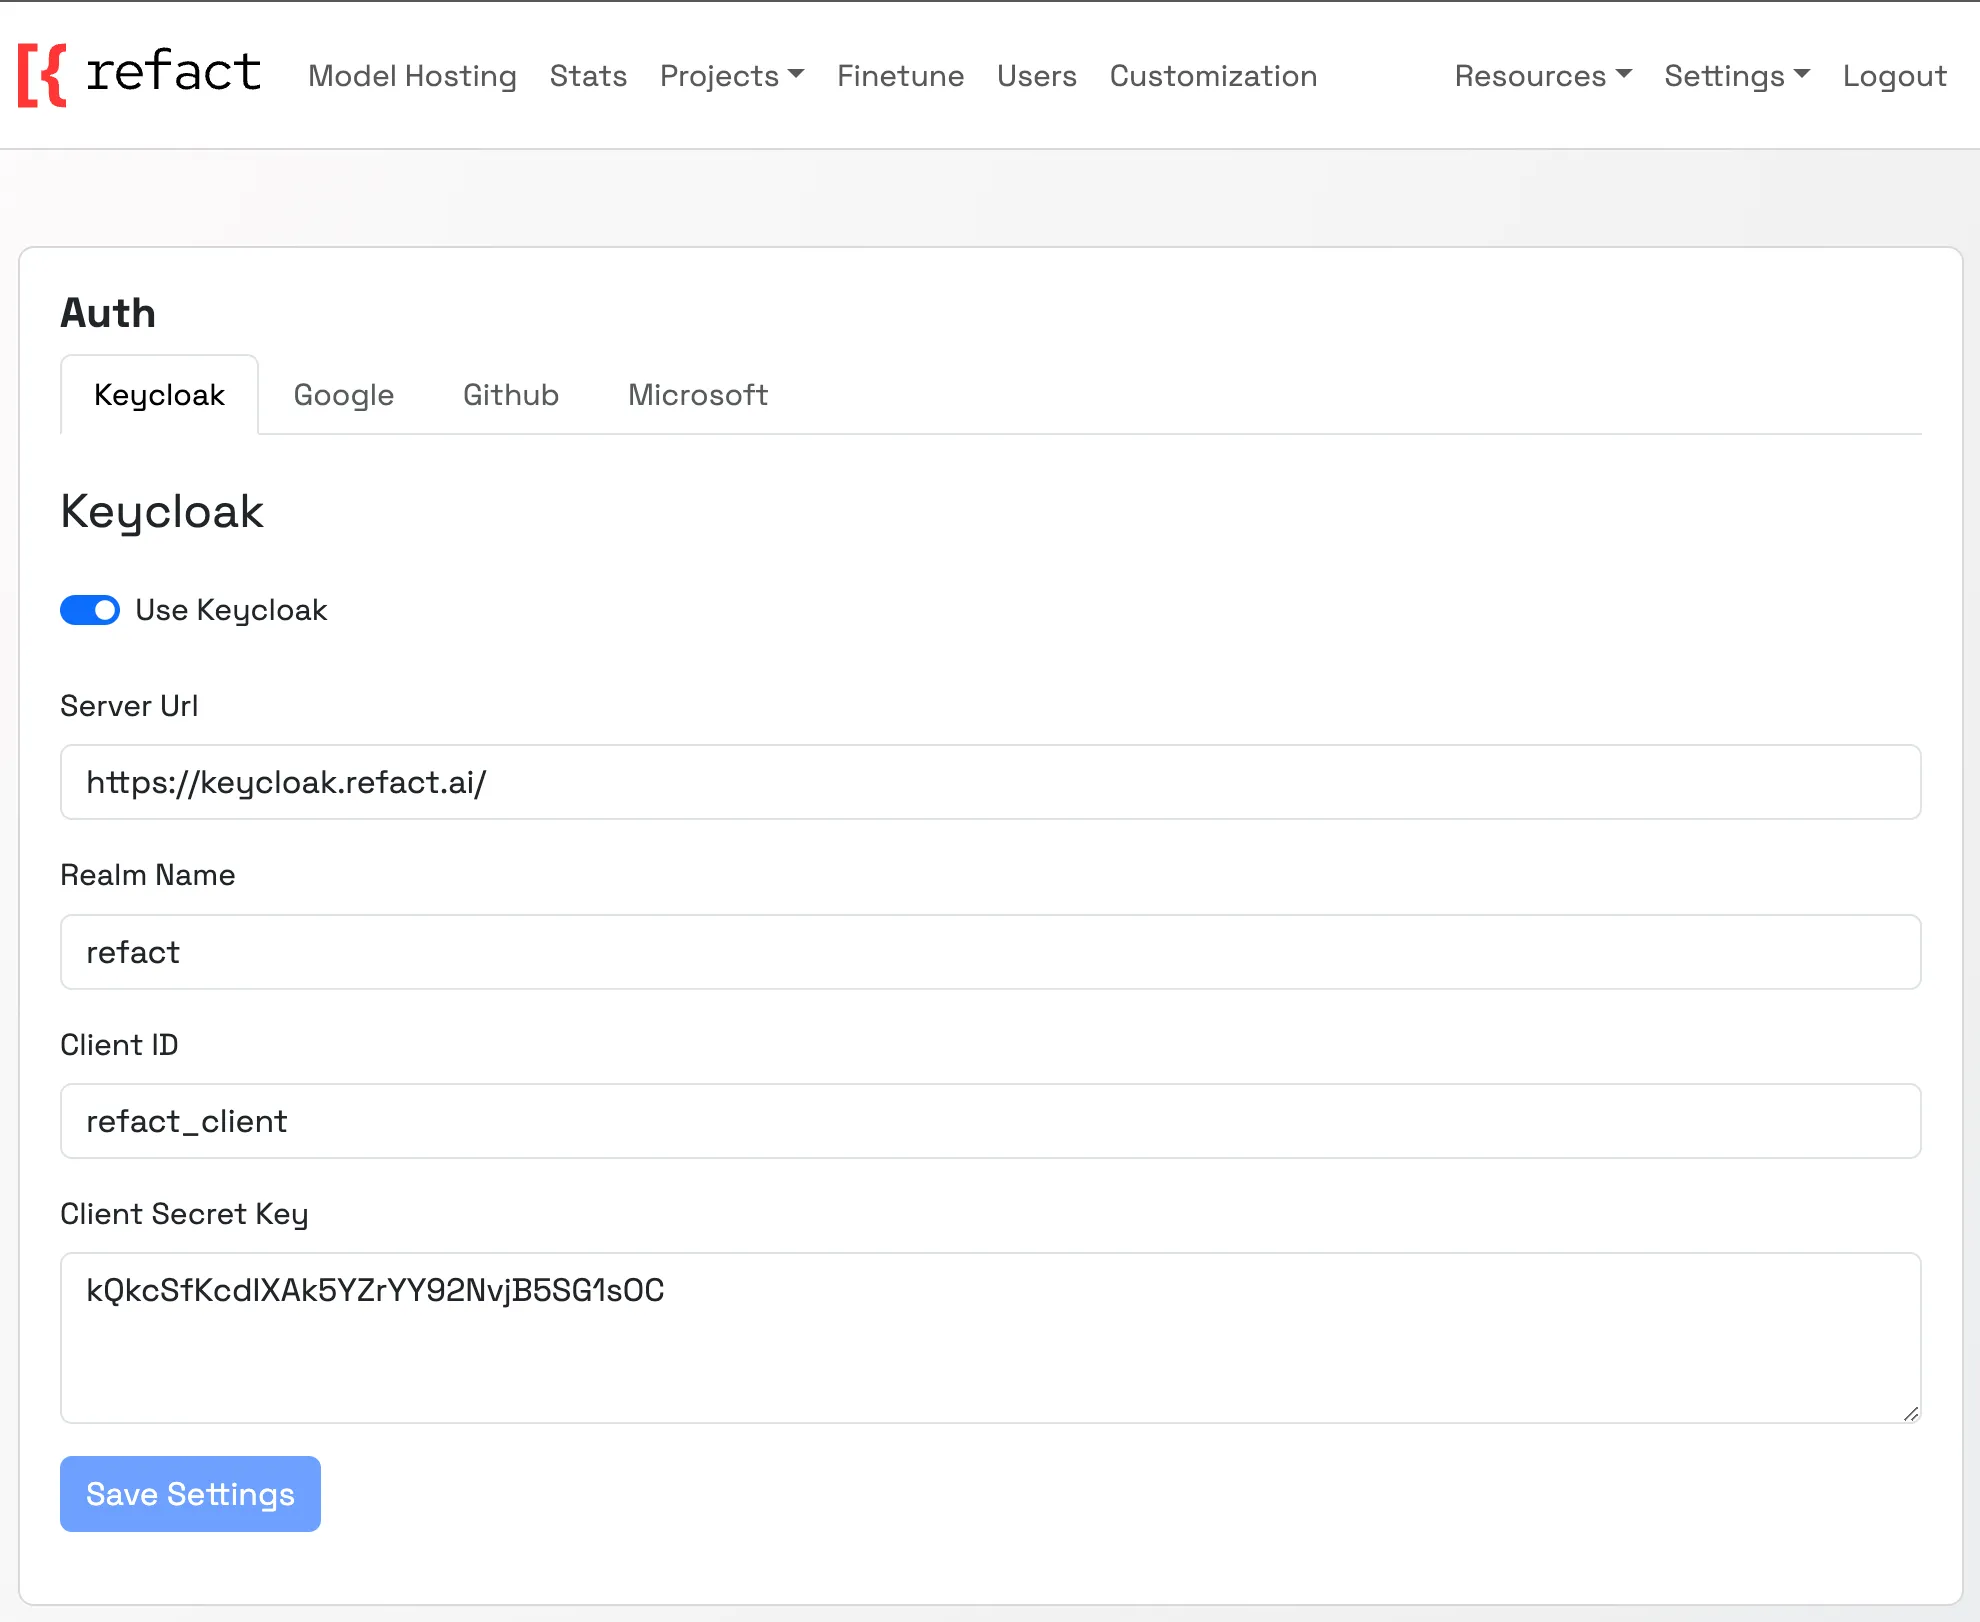
-
Press the
Authtab in thesettingsdropdown.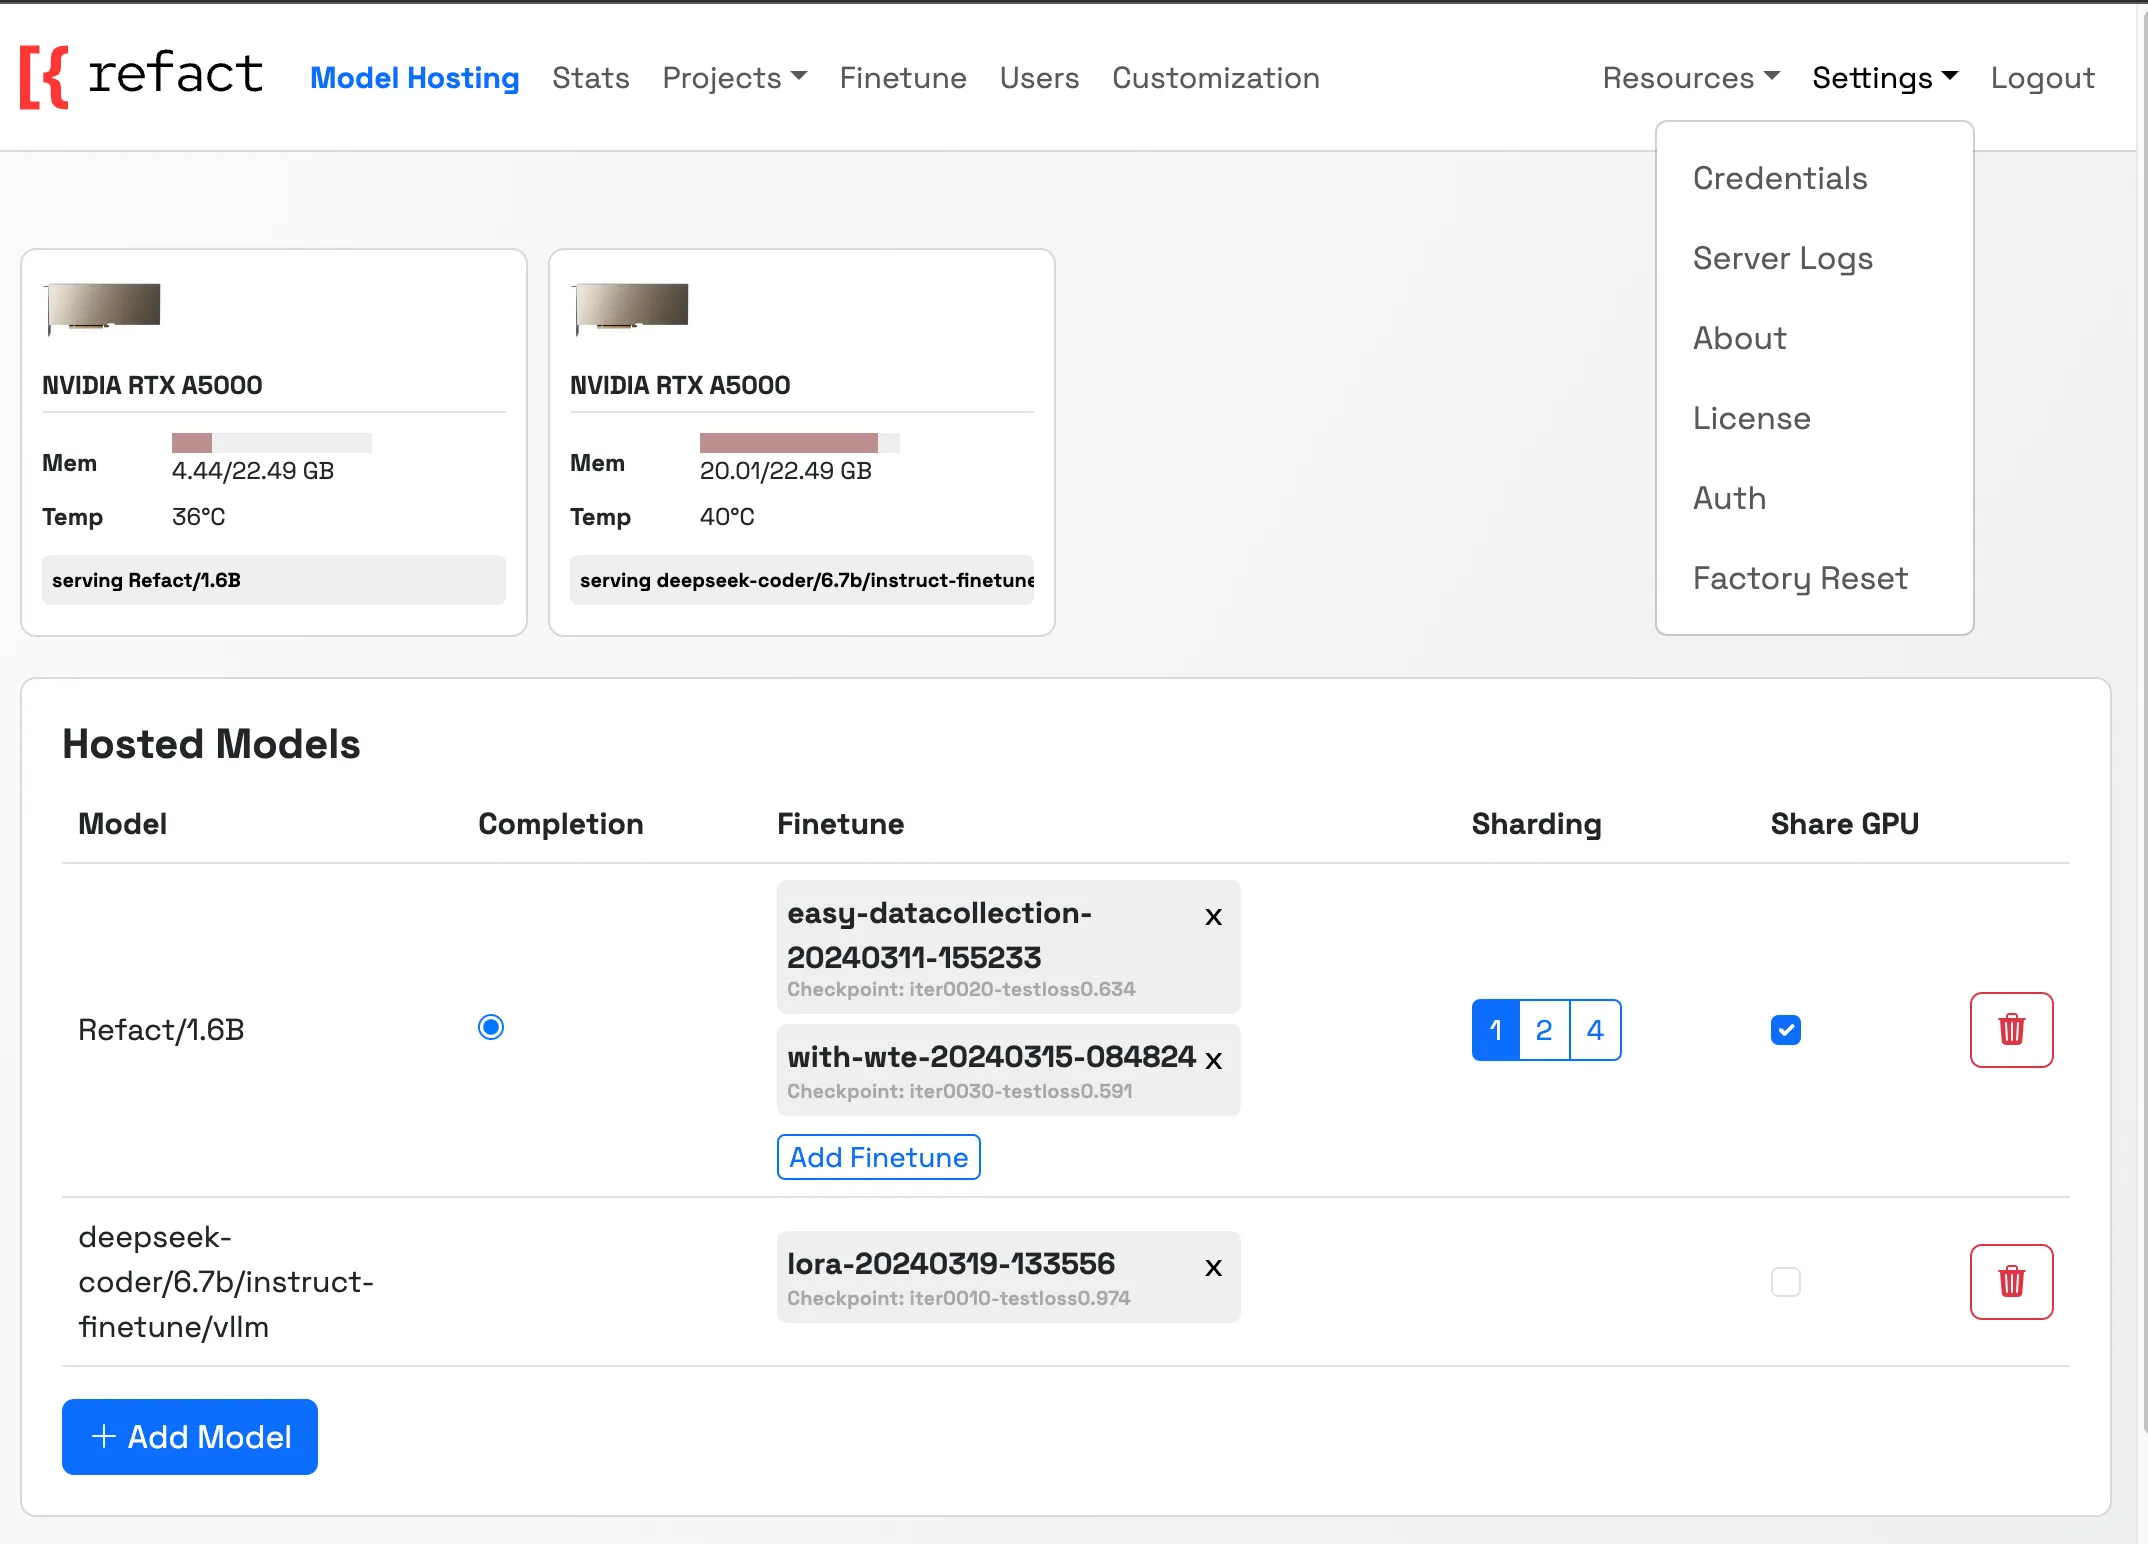
-
Input the previously configured Keycloak settings. Confirm by clicking
Save Settings.